Altered Books - step by step
Altered books are a very fun and satisfying creative project. I look for
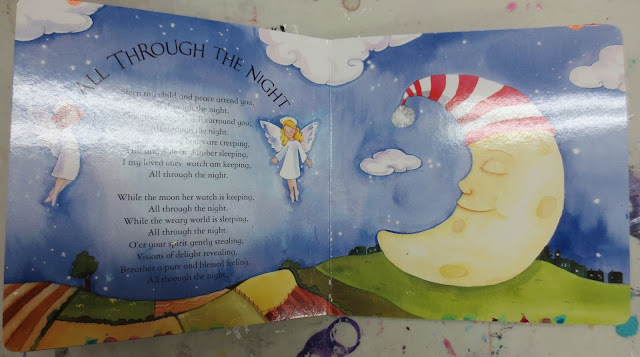
baby board books with about ten pages at the thrift store. Too many
more pages will make your finished book pretty bulky. This one has pages that measure 8 x 8, but you can find them in all sizes.
Step #1 - Gather up some magazines, old calendars, books you are willing to recycle (again the thrift sore is a good source of material) - gift wrap, downloadable and printable art images, photocopies, pages of old letters, greeting cards, tissue paper, basically anything made of paper that you can stick down onto the page. Now this is the important bit - DON'T THINK. This process works best when you let go of any plan or idea you have for a finished page and instead let your intuition take over. This intuitive approach to art making is incredibly relaxing - it gets you into that wonderful state known as FLOW. Any time you see an image, colour, bit of text etc that you are drawn to for whatever reason, put it in your pile. Don't question WHY. More is good.
Lots of choices = dynamic pages!
Using an acrylic medium or a Mod Podge type product, brush the back of each piece with the medium and stick it down. Don't worry about where each piece goes - again, NO THINKING! Just grab and stick down, grab and stick down. This is surprisingly relaxing! With pieces of text I like to make sure there are a few that are not covered up by other images. Once you have covered pretty much all of the pages, sit back and admire your work for a bit.
Once you are satisfied with the overall effect of your glued down paper bits, get out your paint and mark making tools. I use stencils, foam stamps, bubble wrap, scratching tools, metallic and other acrylic paints. Items like corks, combs, dental tools, caps from bottles are easy to find around the house and can make some cool marks. I like to dribble paint on and then spray it with water to get neat and unpredictable effect. (This is not a project for control freaks - I guess you have figured that out by now.) On these pages I used metallic gold for the drips, and used a hand made star stencil that I made back when my sister and I were going to be rich and famous selling our unique hand painted and stenciled beach wear in our funky beachfront shop in Jamaica. (That one was Plan H.) I made dozens and dozens of stencils and painted and stenciled reams of yardage, that my sister then sewed into sarongs, capri pants and tank tops. Plan H never got off the ground, because I got married instead of moving to Jamaica and opening a seaside clothing boutique, but I did find a use for all of those stencils 20 years later. ANYHOW! I also used a little foam circle stamp and several other stencils for repeat patterns. The one on the top of the right hand page had the stencil repositioned with gold over the black for a neat dimensional look. When you are happy with the results you can put 1 or 2 coats of acrylic medium or Mod Podge over top, in either a matte or gloss finish.
Altered books are just one of the mixed media projects you can work on at my weekly
"Express Yourself" Drop In Art Studio sessions - Wednesdays 6-8 pm and Friday 1-3 pm.
Creating with others is FUN! So is eating chocolate and talking.
Creating with others is FUN! So is eating chocolate and talking.
lesleyfountainstudio@gmail.com


Comments
Post a Comment